Installing and deploying IMC UAM
Install IMC UAM in the same way IMC NTA is installed. For information about the procedure, see "Installing and deploying IMC NTA."
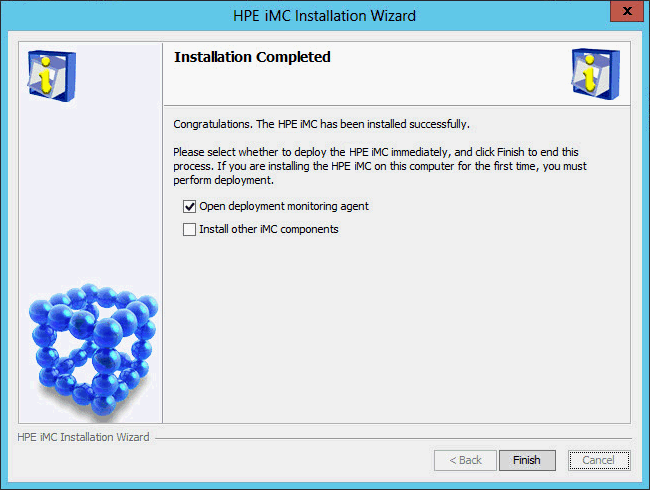
On the Installation Completed page shown in Figure 32, select Open deployment monitoring agent, and then click Finish.
Figure 32: Installation Completed page
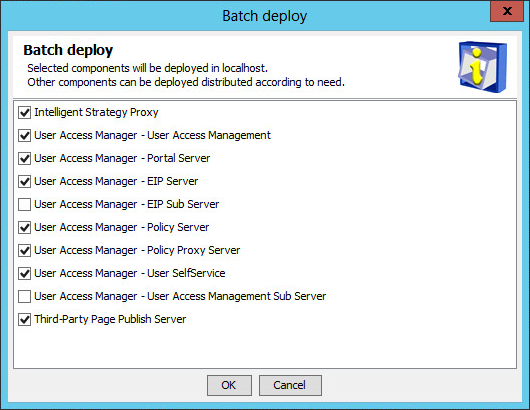
The Batch deploy dialog box opens, as shown in Figure 33.
Figure 33: Batch deploy dialog box
Select the UAM subcomponents you want to deploy, and then click OK.
In this example, select all the UAM subcomponents except EIP Sub Server and User Access Management Sub Server.
The EIP Sub Server and User Access Management Sub Server subcomponents must be deployed on subordinate servers in distributed deployment.
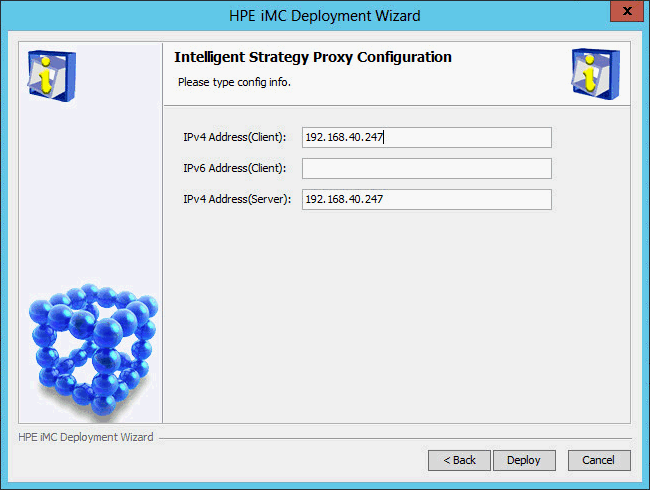
The IMC deployment wizard starts and displays the Intelligent Strategy Proxy Server Configuration page, as shown in Figure 34.
Figure 34: Intelligent Strategy Proxy Server Configuration page
Configure the following parameters:
IPv4 Address(Client)—Enter the IP address of the Intelligent Strategy Proxy component. By default, this field is automatically populated with the IP address of the local host.
IPv4 Address(Server)—Enter the IP address of the User Access Management component. By default, this field is automatically populated with the IP address of the local host.
Modify the default settings only when the local host has multiple NICs and you want to associate Intelligent Strategy Proxy and User Access Management with different NICs.
Click Deploy.
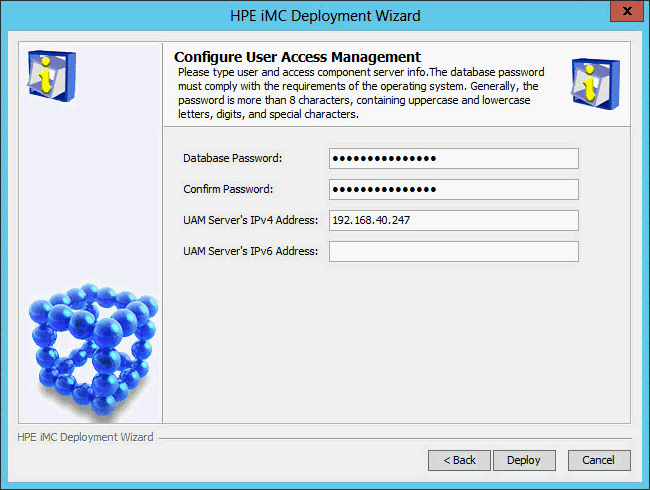
The Configure User Access Management page opens, as shown in Figure 35.
Figure 35: Configure User Access Management page
Configure the following parameters:
Database Password/Confirm Password—These fields are automatically populated with the password of the database superuser sa specified during IMC platform installation.
If the database user password is changed after IMC platform installation, enter the new password in these fields.
UAM Server's IPv4 Address—This field is automatically populated with the IP address of the local host.
Click Deploy.
The Configure Portal Component page opens, as shown in Figure 36.
Figure 36: Configure Portal Component page
Use the default settings, and then click Deploy.
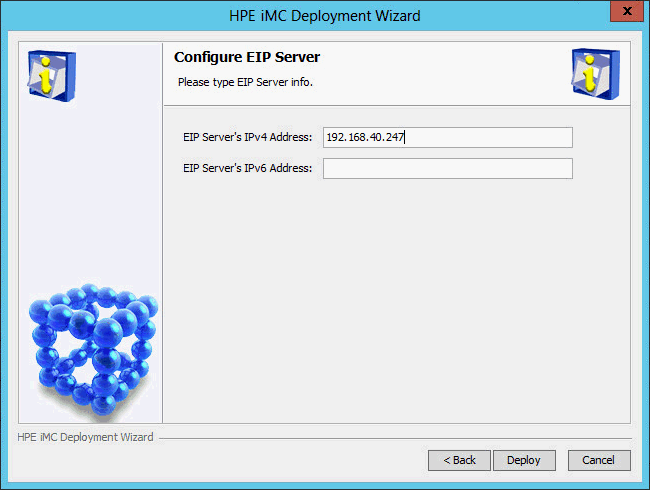
The Configure EIP Server page opens, as shown in Figure 37.
Figure 37: Configure EIP Server page
Use the default settings, and then click Deploy.
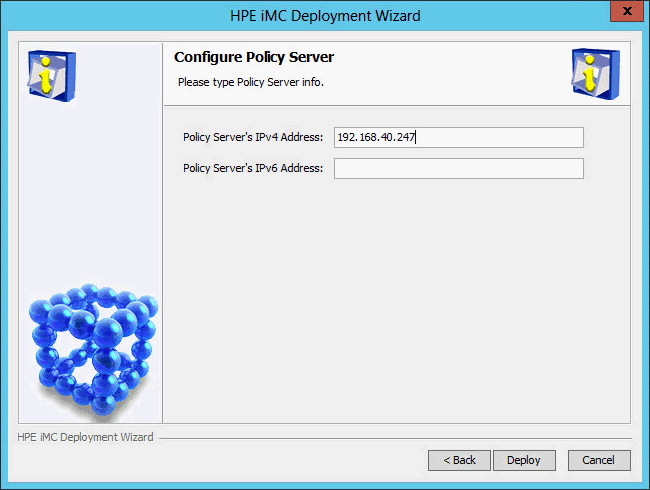
The Configure Policy Server page opens, as shown in Figure 38.
Figure 38: Configure Policy Server page
Use the default settings, and then click Deploy.
The Configure User SelfService page opens, as shown in Figure 39.
Figure 39: Configure User SelfService page
Use the default settings, and then click Deploy.
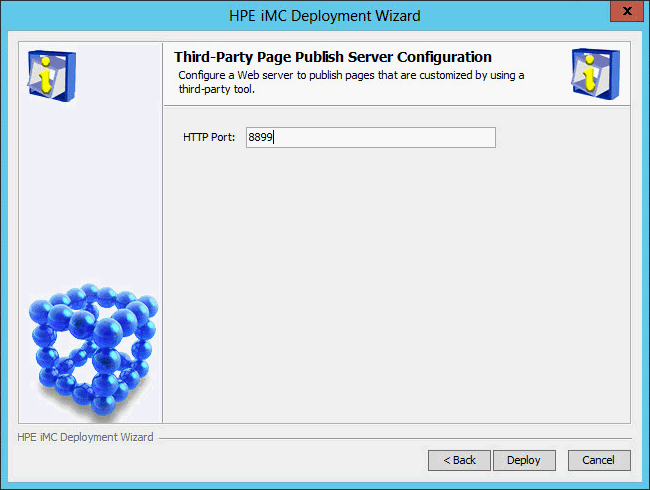
The Third-Party Page Publish Server Configuration page opens, as shown in Figure 40.
Figure 40: Third-Party Page Publish Server Configuration page
Use the default settings, and then click Deploy.
All the selected UAM subcomponents are deployed.
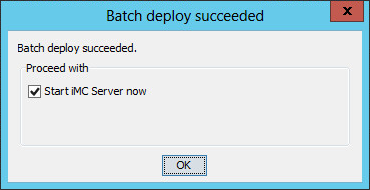
The Batch deploy succeeded dialog box opens, as shown in Figure 41.
Figure 41: Batch deploy succeeded dialog box
Configure the Start iMC Server now option as needed, and then click OK.