Installing and deploying IMC NTA
Start the Intelligent Deployment Monitoring Agent, and then click Install on the Monitor tab.
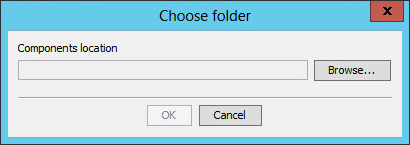
The Choose folder dialog box opens, as shown in Figure 23.
Figure 23: Choose folder dialog box
Click Browse and select the \install\components folder in the NTA installation package.
Click OK.
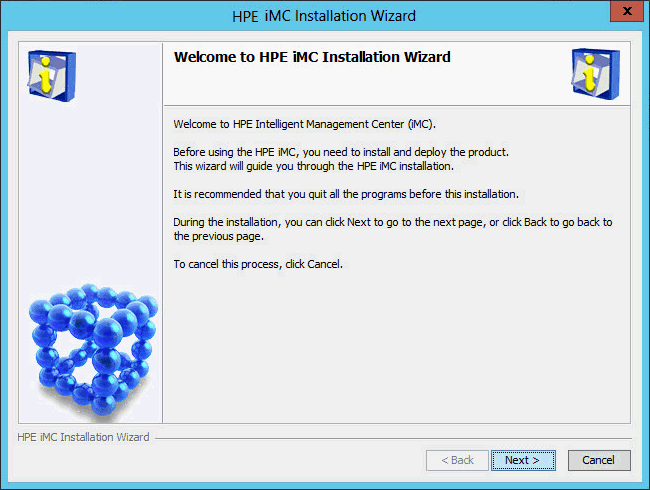
The IMC installation wizard opens, as shown in Figure 24.
Figure 24: IMC installation wizard
Click Next.
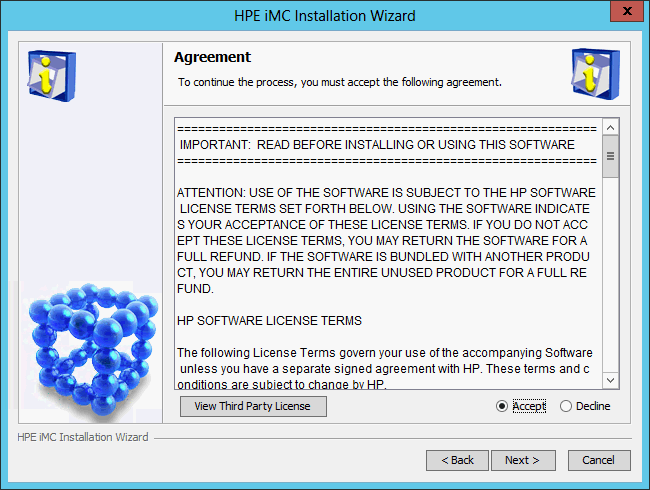
The Agreement page opens, as shown in Figure 25.
Figure 25: Agreement page
Read the license agreement and third-party license, and then select Accept.
Click Next.
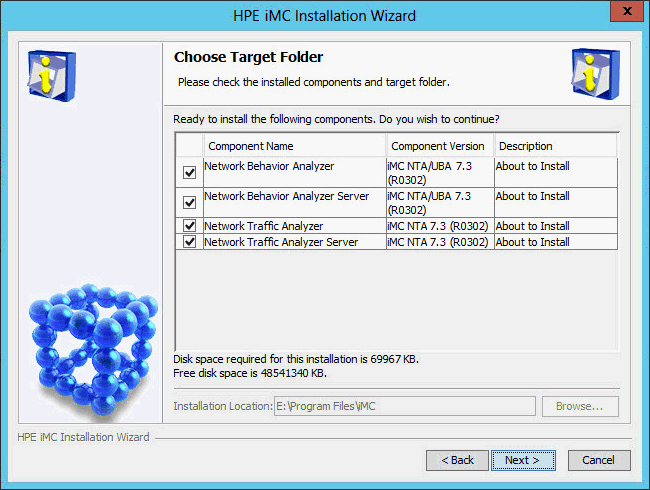
The Choose Target Folder page opens, as shown in Figure 26.
The Installation Location field is automatically populated with the installation location of the IMC platform and cannot be modified.
Figure 26: Choose Target Folder page
Select the NTA subcomponents you want to install.
Click Next.
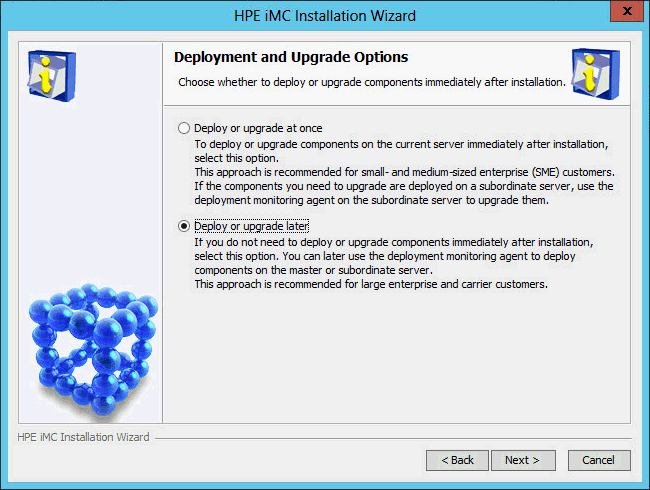
The Deployment and Upgrade Options page opens, as shown in Figure 27.
Figure 27: Deployment and Upgrade Options page
Select Deploy or upgrade later.
Click Next.
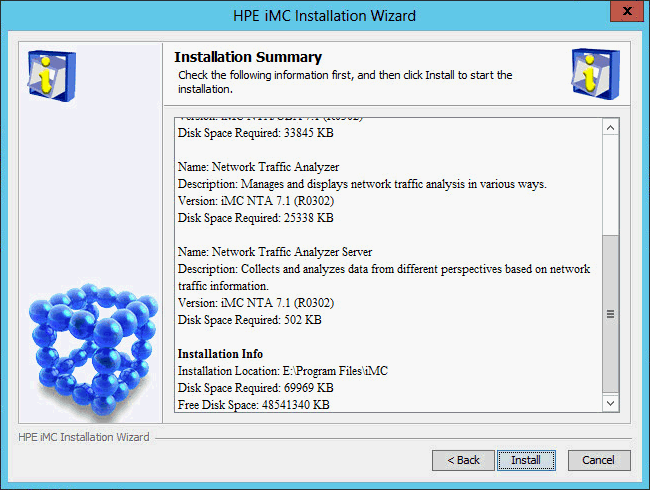
The Installation Summary page opens, as shown in Figure 28.
Figure 28: Installation Summary page
Verify the installation information, and then click Install.
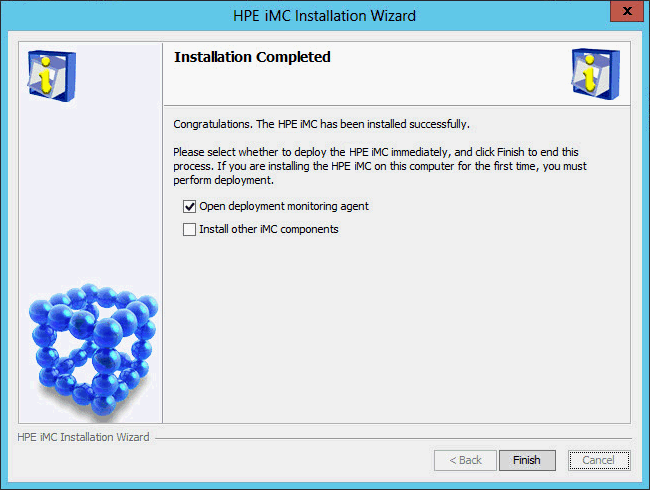
After the installation is complete, the Installation Completed page opens, as shown in Figure 29.
Figure 29: Installation Completed page
Select Open deployment monitoring agent, and then click Finish.
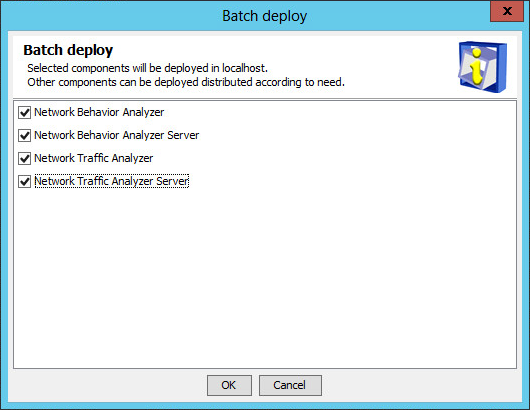
The Batch deploy dialog box opens, as shown in Figure 30.
Figure 30: Batch deploy dialog box
Select the NTA subcomponents you want to deploy.
In this example, select all the NTA subcomponents.
Click OK.
The system starts to deploy the selected NTA subcomponents.
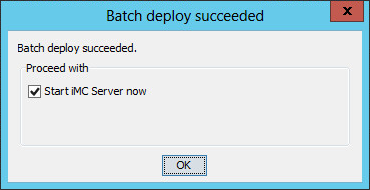
After the deployment is complete, the Batch deploy succeeded dialog box opens, as shown in Figure 31.
Figure 31: Batch deploy succeeded dialog box
Configure the Start iMC Server now option as needed, and then click OK.