Installing the Oracle client
Complete the tasks described in "Preparing for installation."
Restart the operating system, and then log in as Oracle.
Run the installation program from the Oracle client installation directory.
./runInstaller
The Select Installation Type page opens, as shown in Figure 32.
Figure 32: Select Installation Type page
Select Custom and click Next.
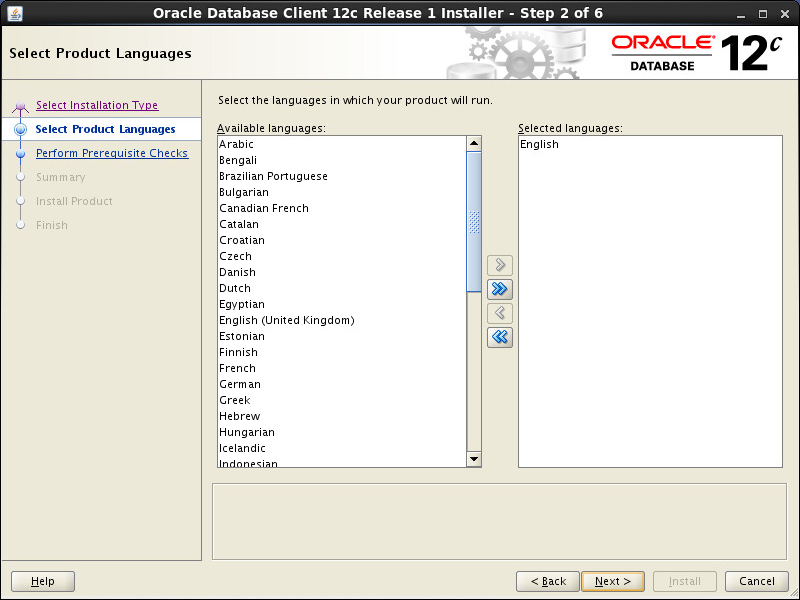
The Select Product Languages page opens, as shown in Figure 33.
Figure 33: Select Product Languages page
Select English (United Kingdom) and click Next.
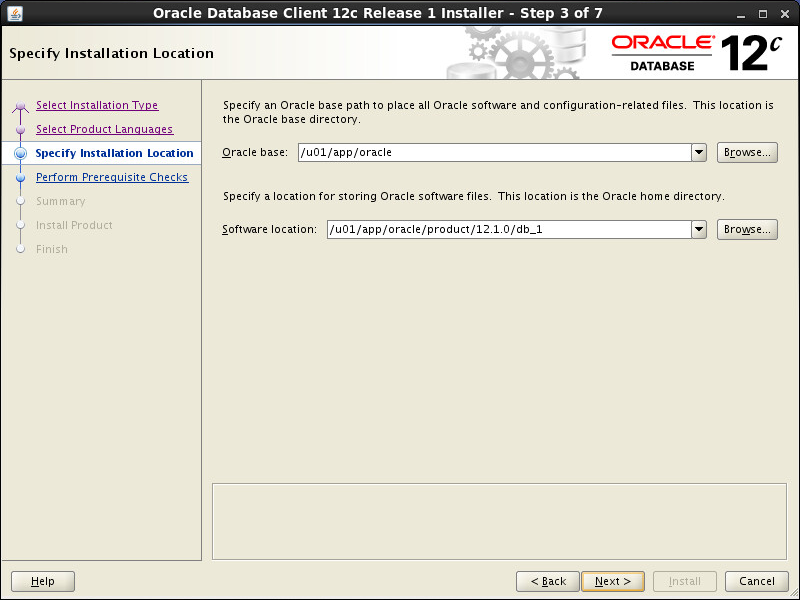
The Specify Installation Location page opens, as shown in Figure 34.
Figure 34: Specify Installation Location page
Click Next, with the default settings unchanged.
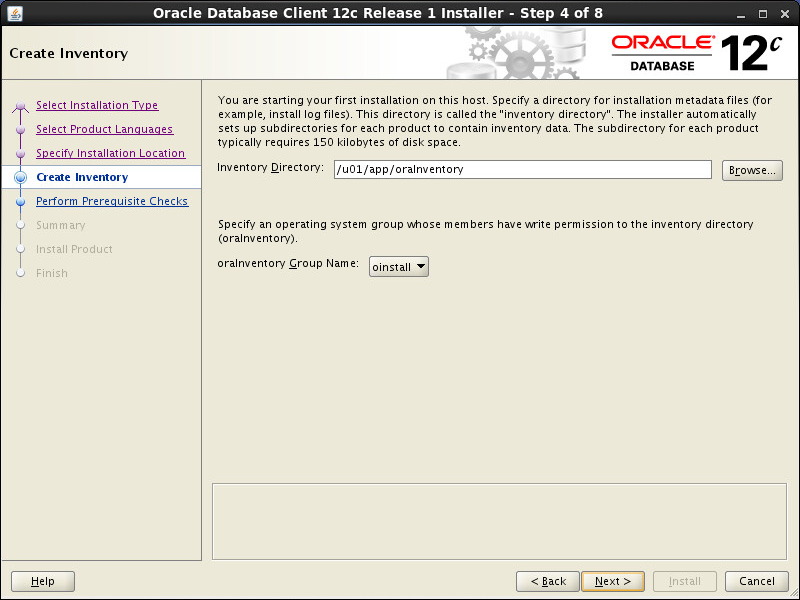
The Create Inventory page opens, as shown in Figure 35.
Figure 35: Create Inventory page
Click Next, with the default settings unchanged.
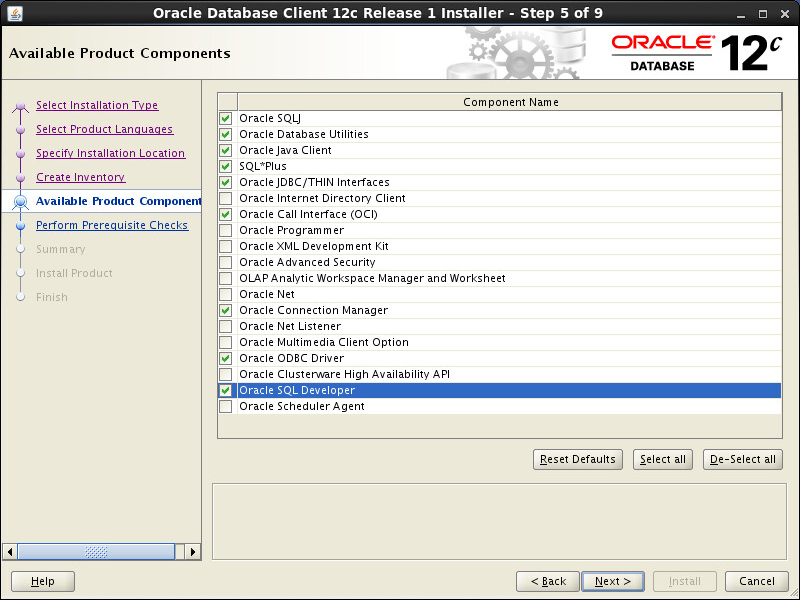
The Available Product Components page opens, as shown in Figure 36.
Figure 36: Available Product Components page
Select the following components:
Oracle SQLJ
Oracle Database Utilities
Oracle Java Client
SQL*Plus
Oracle JDBC/THIN Interfaces
Oracle Call Interface(OCI)
Oracle Connection Manager
Oracle ODBC Driver
Oracle SQL Developer
Click Next.
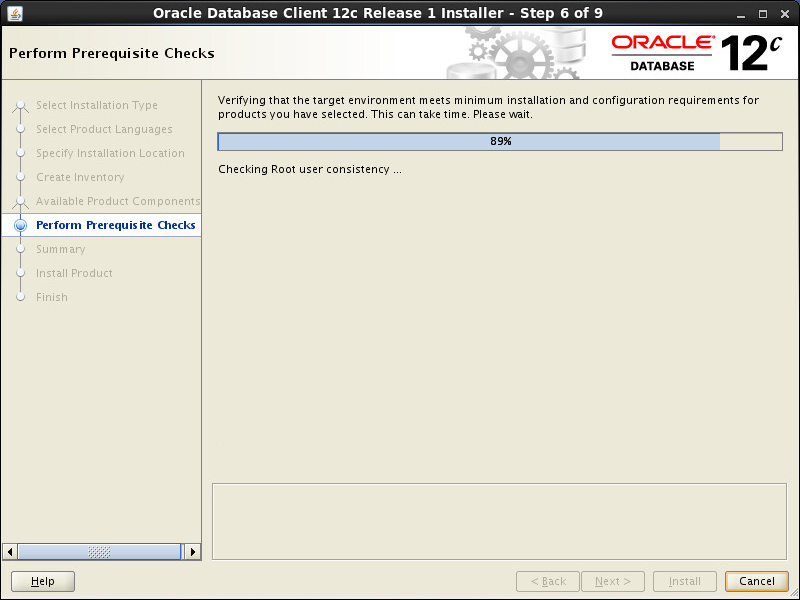
The Perform Prerequisite Checks page opens, as shown in Figure 37.
Figure 37: Perform Prerequisite Checks page
Fix any failed check items, and then click Next.
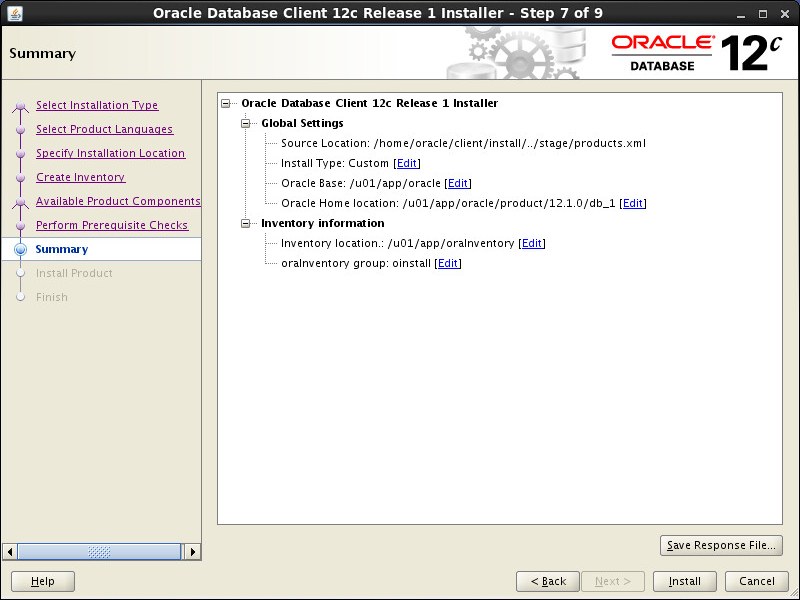
The Summary page opens, as shown in Figure 38.
Figure 38: Summary page
Click Install.
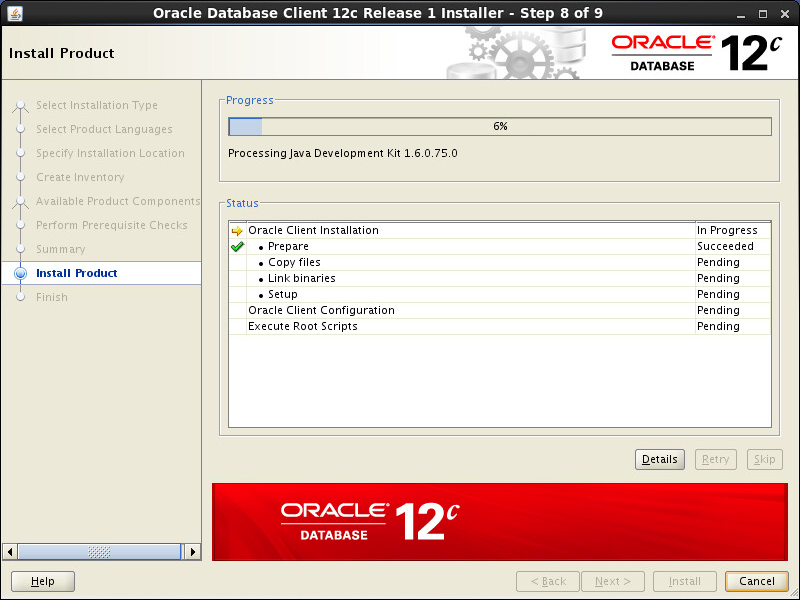
The Install Product page opens, as shown in Figure 39.
Figure 39: Install Product page
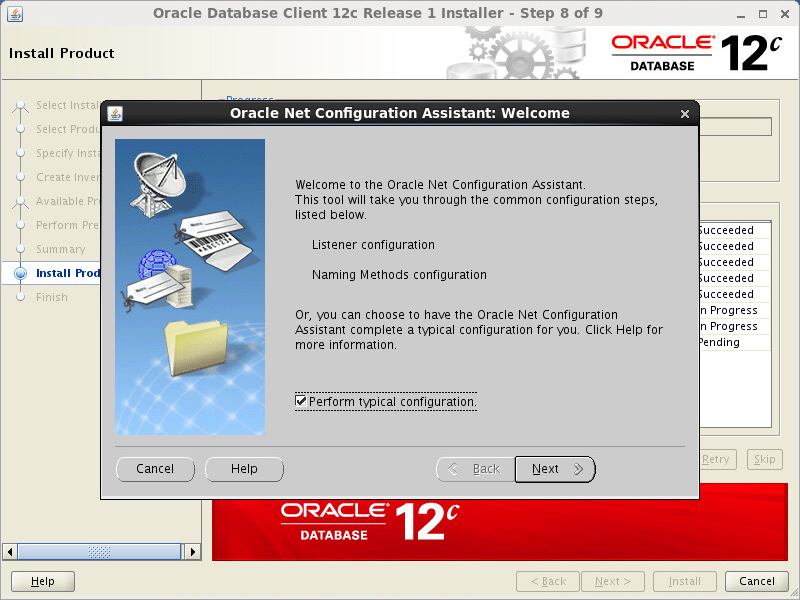
The system starts installing the Oracle client and displays the installation progress. During installation, the Oracle Net Configuration Assistant opens, as shown in Figure 40.
Use Oracle Net Configuration Assistant to configure the network service name to be used for connecting to the database server.
For more information about network service names, see "Configuring network service names."
Figure 40: Oracle Net Configuration Assistant
Select the Perform typical configuration option and click Next.
The Execute Configuration scripts dialog box opens, as shown in Figure 41.
Figure 41: Execute Configuration scripts dialog box
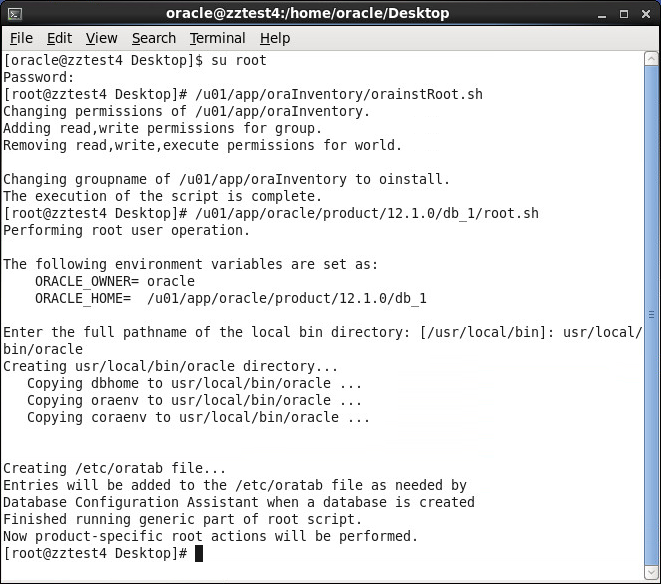
Open a terminal window, switch to root, and execute the scripts instructed in Figure 41, as shown in Figure 42.
Figure 42: Executing configuration scripts
Close the terminal window.
In the Execute Configuration scripts dialog box, click OK.
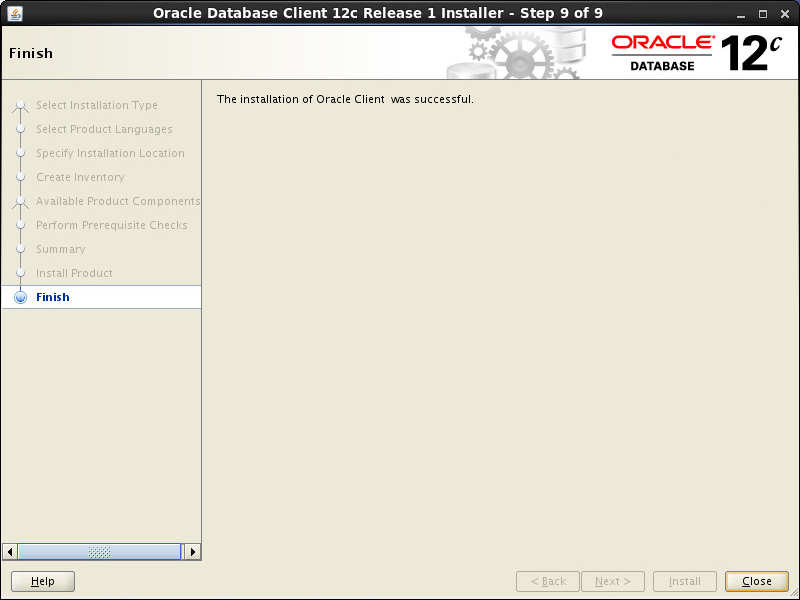
Click Close on the Finish page, as shown in Figure 43.
Figure 43: Completing installation