Installing SQL Server 2014
Run the installation program.
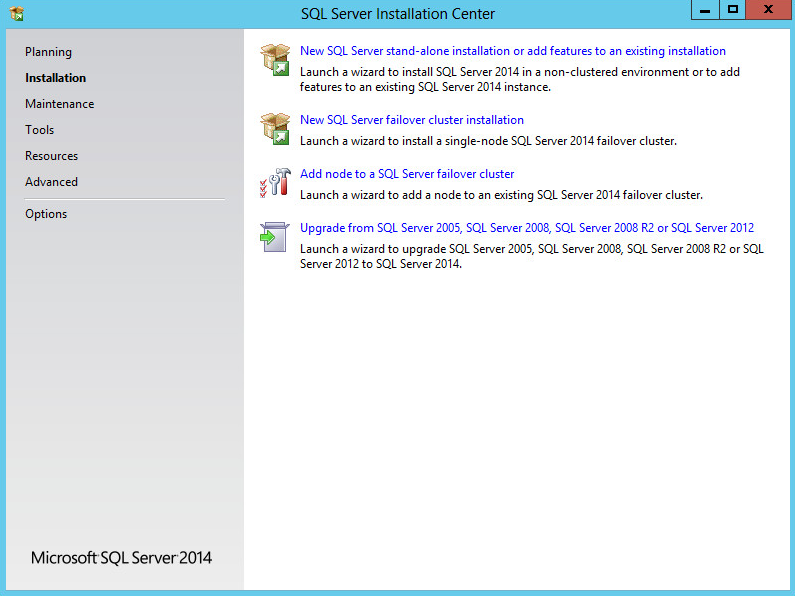
The SQL Server Installation Center wizard opens, as shown in Figure 5.
Figure 5: SQL Server Installation Center wizard
Select Installation in the navigation tree, and then select New SQL Server stand-alone installation or add features to an existing installation.
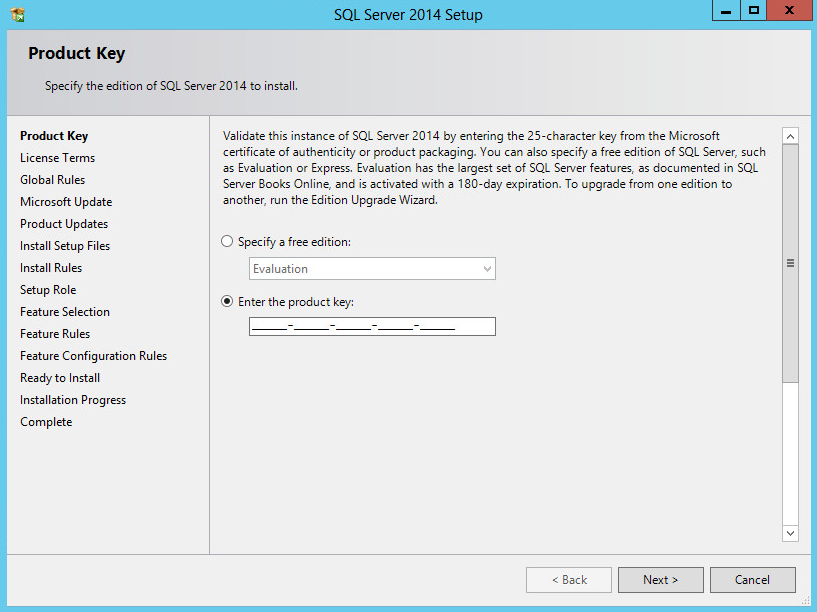
The Product Key page opens, as shown in Figure 6.
Figure 6: Product Key page
Enter the product key, and then click Next.
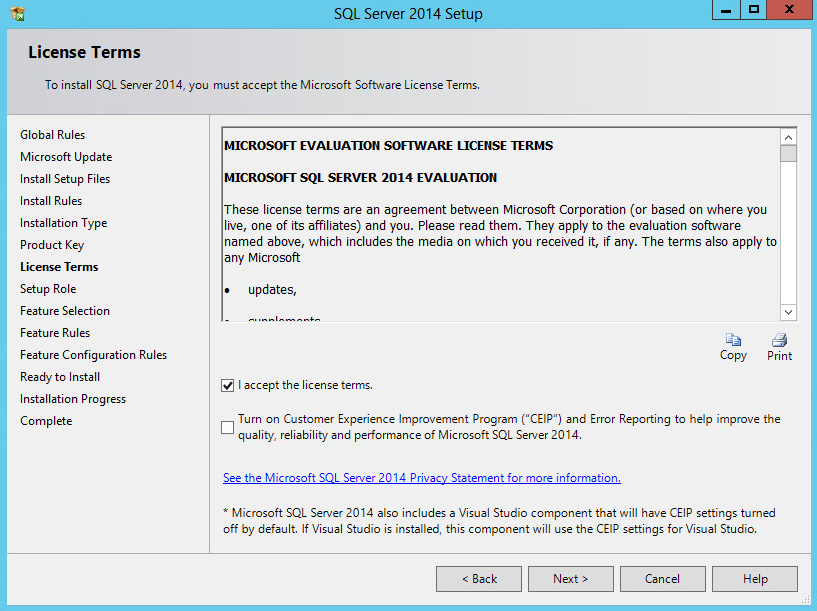
The License Terms page opens, as shown in Figure 7.
Figure 7: License Terms page
Select I accept the license terms, and then click Next.
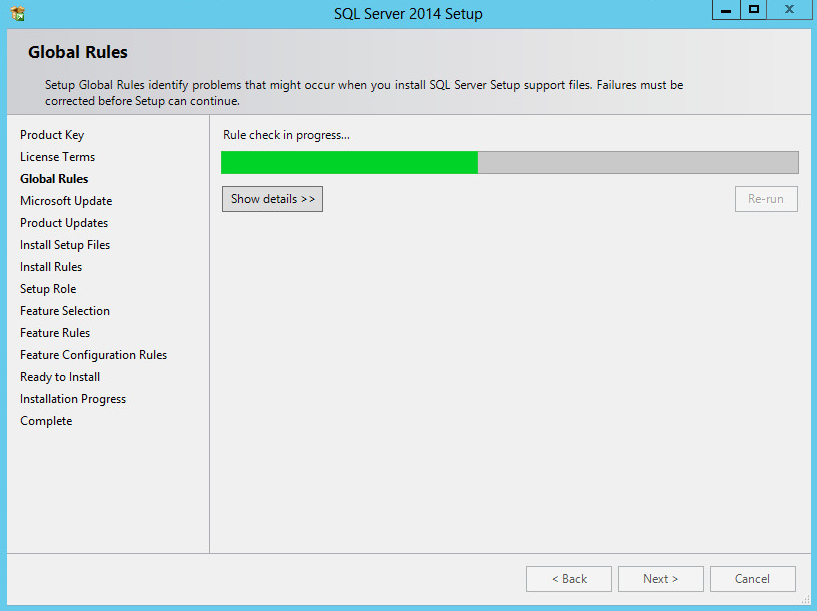
The Global Rules page opens, as shown in Figure 8.
Figure 8: Global Rules page
When the check has been passed, the Microsoft Update page opens, as shown in Figure 9.
Figure 9: Microsoft Update page
Click Next.
The Product Updates page opens.
Click Next if no update is required.
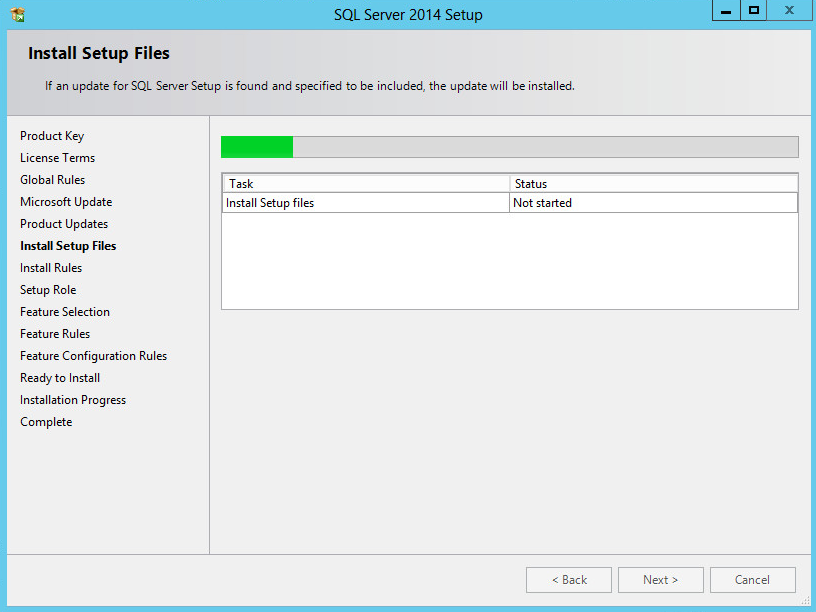
The Install Setup Files page opens, as shown in Figure 10.
Figure 10: Install Setup Files page
When system preparations are complete, the Install Rules page opens, as shown in Figure 11.
Figure 11: Install Rules page
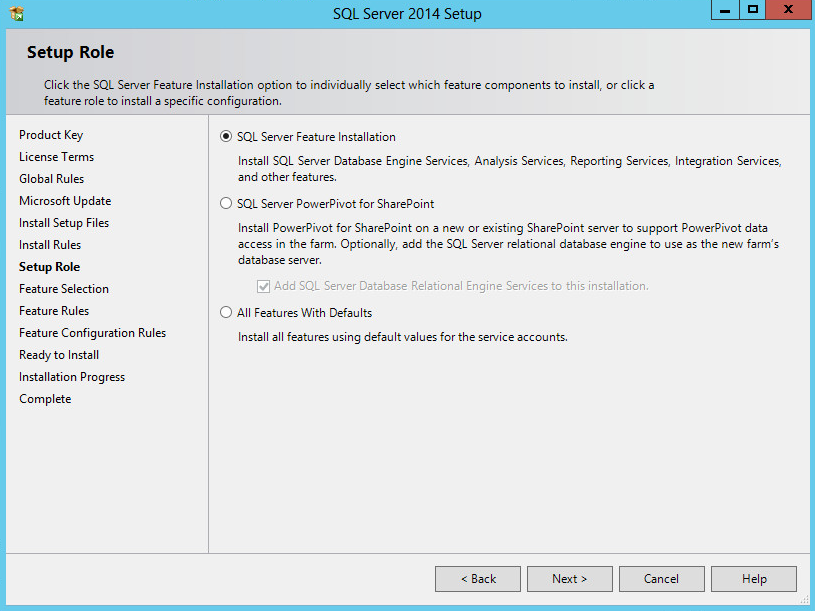
When the rules check is complete, the Setup Role page opens, as shown in Figure 12.
Figure 12: Setup Role page
Select SQL Server Feature Installation, and then click Next.
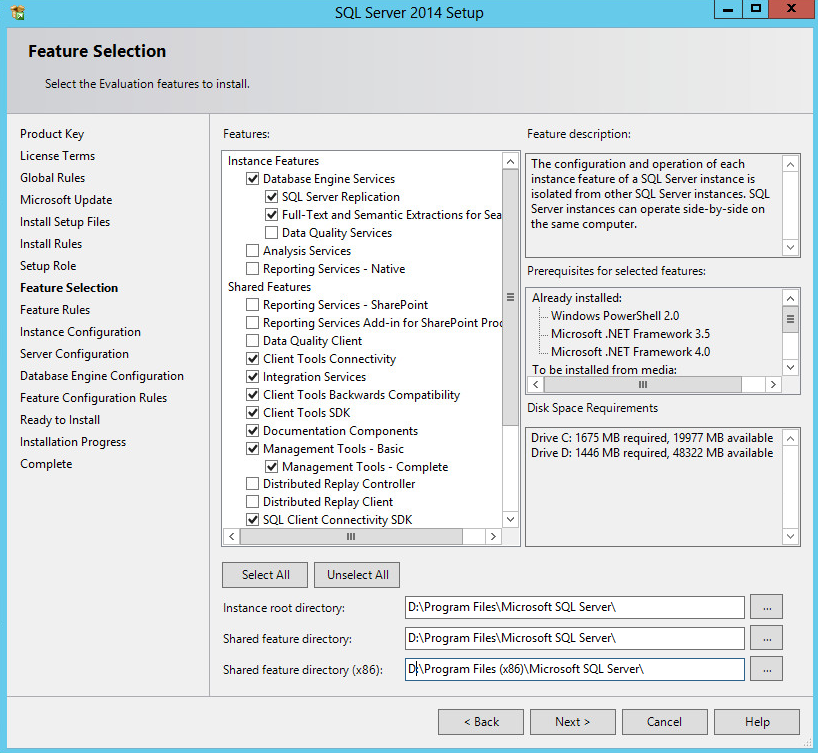
The Feature Selection page opens, as shown in Figure 13.
Figure 13: Feature Selection page
Select the features to install, and then specify the Instance root directory, Shared feature directory, and Shared feature directory (x86).
The default directory settings are C:\Program Files\Microsoft SQL Server, C:\Program Files\Microsoft SQL Server, and C:\Program Files(x86)\Microsoft SQL Server. Specify a disk with sufficient space for the directories. This example uses disk drive D.
Click Next.
The Feature Rules page opens, as shown in Figure 14.
Figure 14: Feature Rules page
When the feature rules check is complete, the Instance Configuration page opens, as shown in Figure 15.
Figure 15: Instance Configuration page
Install a default instance or a named instance of the SQL Server.
To install the default instance, select Default instance and specify an instance ID. The default instance ID is MSSQLSERVER.
To install a name instance, select Named Instance and specify an instance ID. You are required to provide the instance name during IMC installation.
In this example, select Default instance and use the default instance ID MSSQLSERVER.
Click Next.
The Server Configuration page opens, as shown in Figure 16.
Figure 16: Server Configuration page
Use the default settings on the Service Accounts tab.
If you selected Named instance for the SQL Server in Figure 15, set Startup Type for the SQL Server Browser service to Automatic.
Click the Collation tab, as shown in Figure 17.
Figure 17: Collation tab
Use the default collation settings or modify the settings to meet specific language requirements, and then click Next.
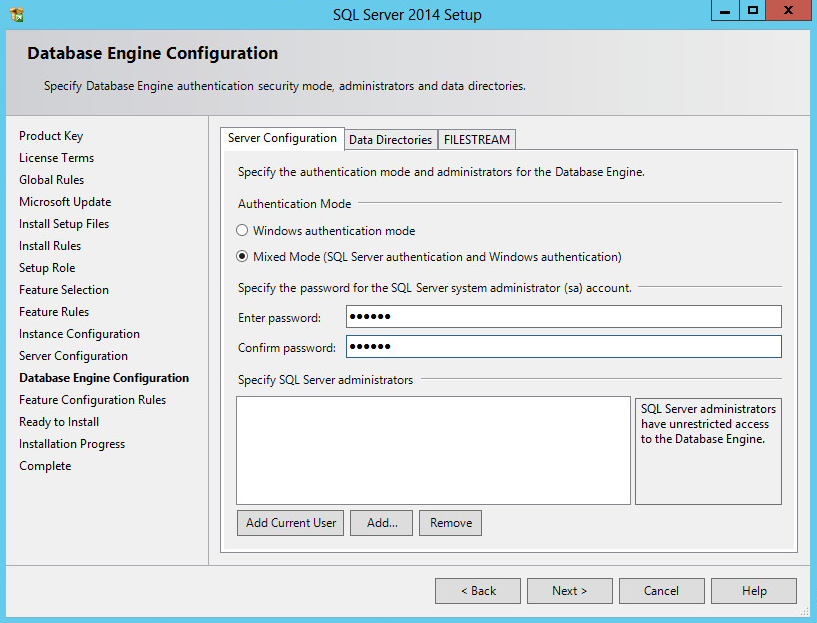
The Database Engine Configuration page opens, as shown in Figure 18.
Figure 18: Database Engine Configuration page
Under Authentication Mode, select Mixed Mode, enter the password for user sa, and add a SQL Server administrator, as shown in Figure 19.
SQL Server 2014 has password complexity requirements. For more information, see the SQL Server 2014 online help.
For IMC to identify the sa logon password during installation, make sure the password does not contain any of the following characters:
Left angle bracket (<)
Right angle bracket (>)
Vertical bar (|)
Tab (\t)
If the password of user sa must contain any of the previous characters, create a superuser with sa user privileges before the IMC installation. Make sure the password of the superuser does not contain any of the previous characters. For information about creating a database superuser, see "Creating a superuser."
Figure 19: Specifying SQL Server administrators
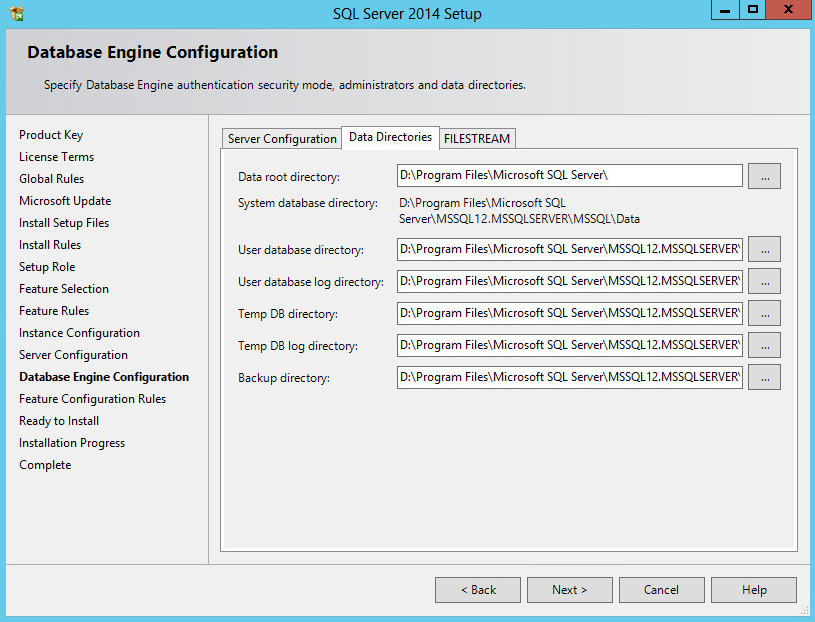
Use the default settings on the Data Directories tab, as shown in Figure 20.
Figure 20: Data Directories tab
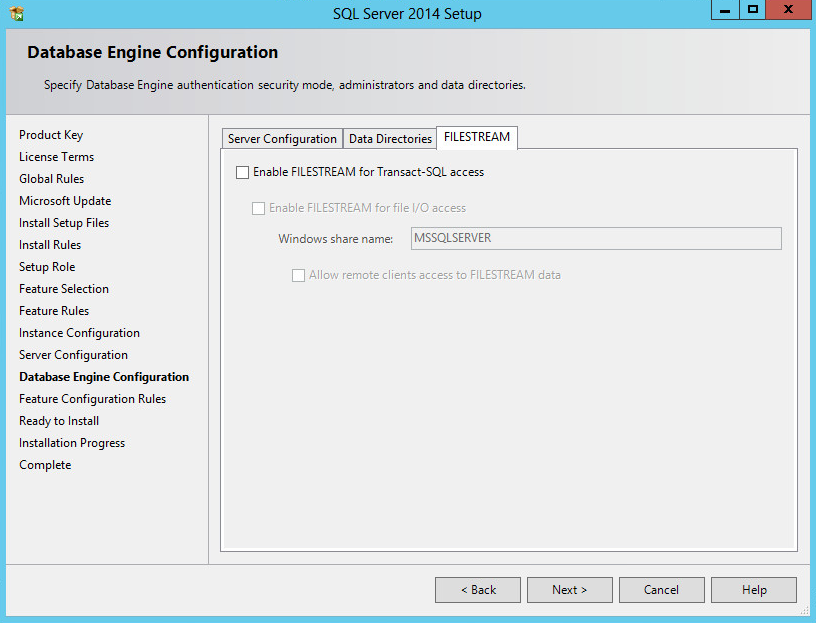
Use the default settings on the FILESTREAM tab, as shown in Figure 21.
Figure 21: FILESTREAM tab
Click Next.
The Feature Configuration Rules page opens, as shown in Figure 22.
Figure 22: Feature Configuration Rules page
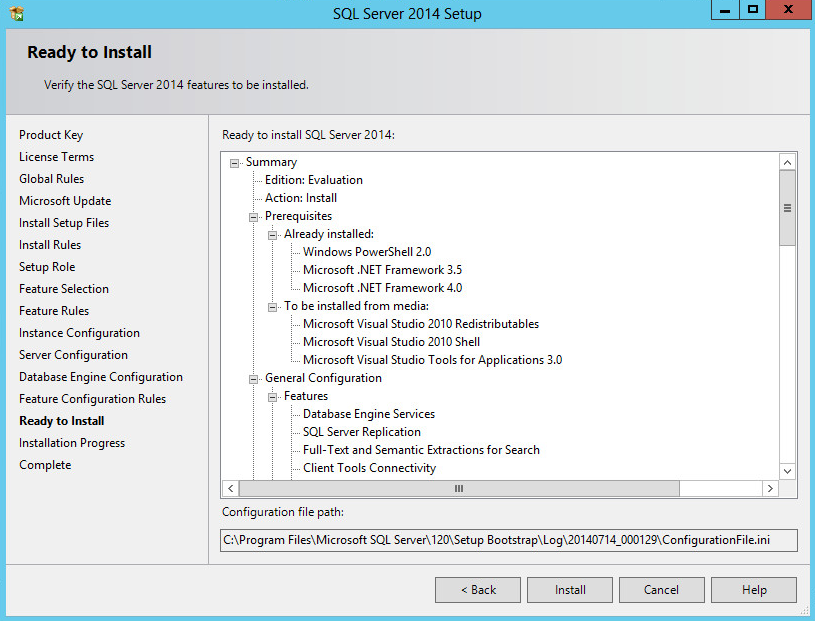
When the features check has been passed, the Ready to Install page opens, as shown in Figure 23.
Figure 23: Ready to Install page
Click Install.
The Installation Progress page opens, as shown in Figure 24.
Figure 24: Installation Progress page
When the installation is complete, the Complete page opens, as shown in Figure 25.
Figure 25: Complete page
Click Close.