Starting the remote installation wizard
You can start the remote installation wizard through the installation package or IE. As a best practice, use the installation package.
Starting the remote installation wizard through the installation package
On the subordinate server, right-click the installslave.bat script in the install directory of the installation package and select Run as Administrator.
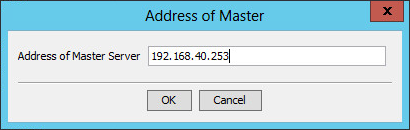
The Address of Master page opens, as shown in Figure 16.
To start the remote installation wizard on Linux, run the installslave.sh script in the install directory of the installation package as a root user. If the installation file is obtained by using FTP, you must first authorize the installslave.sh script by executing chmod –R 775 installslave.sh in the directory of the script.
Figure 16: Address of Master
Enter the IP address of the master server, and then click OK.
The Checking Database Connectivity dialog box opens, as shown in Figure 17.
Figure 17: Checking Database Connectivity
Configure the parameters as needed. For descriptions about the parameters, see "Checking the installation environment."
Click OK to start checking the database connectivity.
After the installation environment check is passed, the Remote Installation Wizard opens, which means that you have successfully started the remote installation wizard.

Starting the remote installation wizard through IE
On the subordinate server, launch the IE browser and enter http://ip-address: port/imc in the address bar.
The ip-address string is the IP address of the master server and port is the HTTP service port number set during IMC deployment.
The IMC login page opens.
Enter the username and password of the superuser, and then click Login.
The Home tab opens.
Click the System tab, and then select System Configuration > Deploy Component.
On the Installed Components page, click Start deploy.
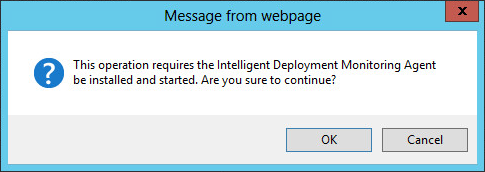
A dialog box opens.
Figure 18: Message
Click OK.
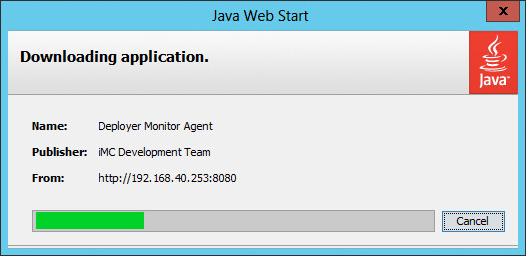
The Downloading application dialog box displays the download process for the Java file jre.exe.
If JRE6.0 has been installed on the subordinate servers, the system starts the remote installation wizard when you click OK.
Figure 19: Downloading application
After the Java file is downloaded and installed, the Checking Database Connectivity dialog box opens, as shown in Figure 17.
Configure the parameters as needed. For descriptions about the parameters, see "Checking the installation environment."
Click OK to start checking the database connectivity.
After the installation environment check is passed, the Remote Installation Wizard opens, which means that you have successfully started the remote installation wizard.