Enabling a disabled agent using the Web UI

Prerequisites

You must be logged in to the ArubaOS-CX Web UI with administrator rights.

Procedure
  1. Select Analytics from the navigation pane.
  2. In the Analytics Dashboard, in the Agents panel, click Agents.
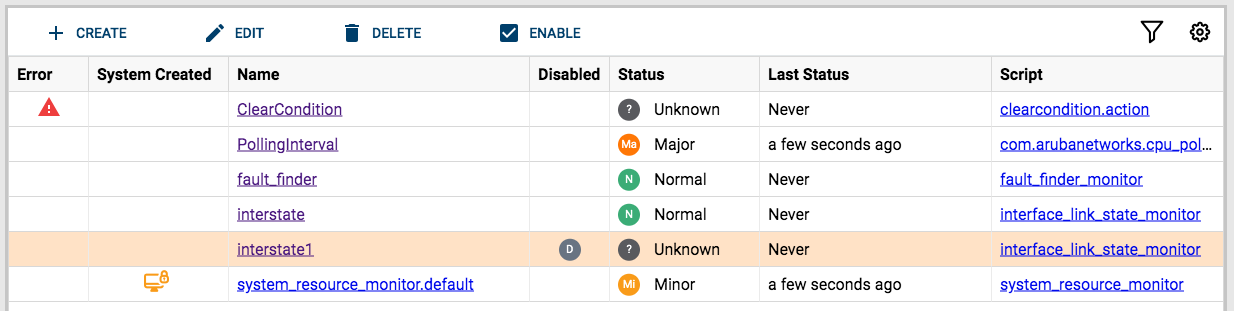
  3. The Agent Management page is displayed. To enable a disabled agent, select the agent row (not the link) for an agent that is disabled and click Enable.

    Agent Management panel with Enable button showing

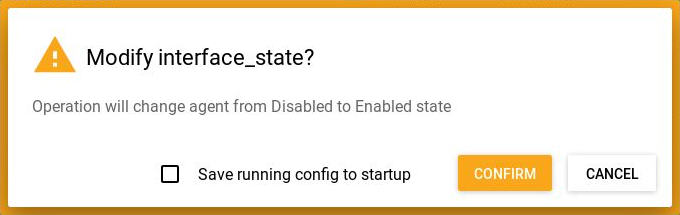
  4. In the confirmation dialog box, do the following:
    1. Optionally, select Save running config to startup.

      If you do not save the running configuration to the startup configuration, the change is not preserved when the switch is rebooted.

    2. To enable the agent, click Confirm. To cancel, click Cancel.

    Modify agent confirmation dialog box example