-
Configure an IP address and subnet mask on the Commander switch. See the Management and Configuration Guide for your switch.
-
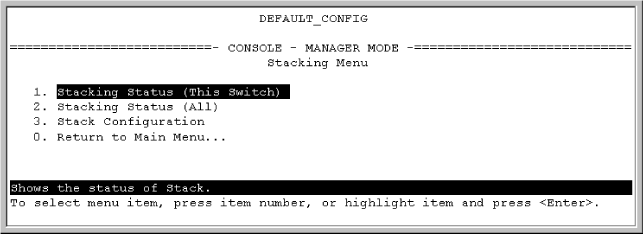
Display the Stacking Menu by selecting
Stackingin the Main Menu. -
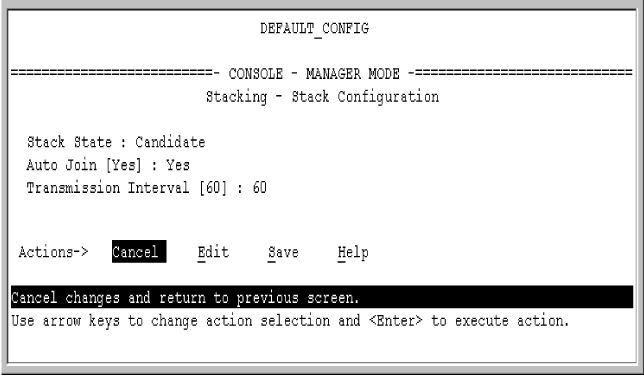
Display the Stack Configuration screen by pressing 3 to select
Stack Configuration. -
Move the cursor to the Stack State field by pressing E (for Edit). Then use the Space bar to select the
Commanderoption. -
Press the down arrow key to display the Commander configuration fields in the Stack Configuration screen.
-
Enter a unique stack name (up to 15 characters; no spaces) and press the down arrow key.
-
Ensure that the Commander has the desired
Auto Grabsetting, then press the down arrow key:-
No (the default) prevents automatic joining of Candidates that have their
Auto Joinset toYes. -
Yes enables the Commander to automatically take a Candidate into the stack as a Member if the Candidate has
Auto Joinset toYes(the default Candidate setting) and does not have a previously configured password.
-
-
Accept or change the transmission interval (default: 60 seconds), then press Enter to return the cursor to the
Actionsline. -
Press S (for Save) to save your configuration changes and return to the Stacking menu.

Your Commander switch should now be ready to automatically or manually acquire Member switches from the list of discovered Candidates, depending on your configuration choices.