Backing up databases
A single IMC system supports both manual and automatic backup:
Manual backup—Immediately backs up all IMC data files.
Automatic backup—Allows you to schedule a task to automatically back up selected data files at the specified time.
Manual backup
On the Environment tab, click Backup.
A confirmation dialog box opens.
Click OK.
The Select database backup path dialog box opens.
Specify a local path to save the backed up data files.
Make sure the specified path has enough space.
Click OK.
Automatic backup
On the Environment tab, click Configure.
In the confirmation dialog box that opens, click OK.
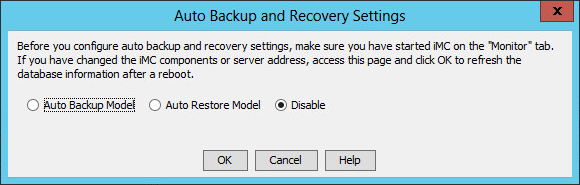
The Auto Backup and Recovery Settings dialog box opens, as shown in Figure 92.
Figure 92: Auto Backup and Recovery Settings
Read information in the Auto Backup and Recovery Settings dialog box, select Auto Backup Model, and click OK.
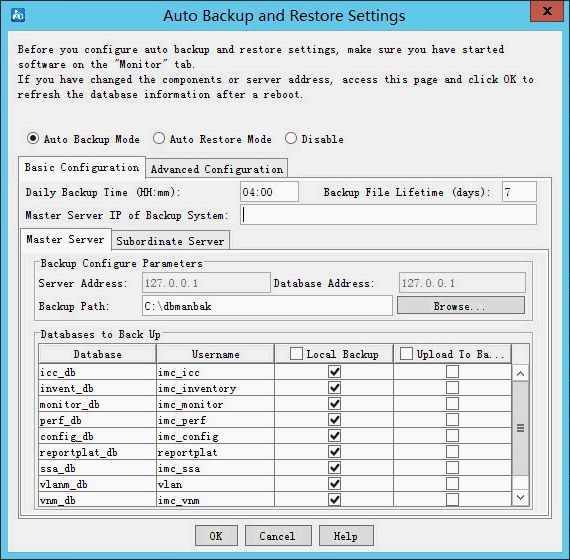
The page for configuring auto backup settings opens, as shown in Figure 93.
Figure 93: Configuring auto backup settings
On the Basic Configuration tab, configure the following parameters:
Daily backup time (HH:mm)—Enter the time at which the automatic backup operation starts every day. By default, the daily backup time is 04:00.
Master Server IP of Backup System—This parameter is applicable to database backup in stateless failover scenarios. To upload the database files to the master server of backup system, specify the master server IP address in this field. Make sure automatic restoration is enabled for the backup system.
Click the Master Server tab and configure the following parameters:
Storage Path of iMC Files—Enter or browse to the path where the backup IMC files are stored.
Backup Path—Enter or browse to the path where the backup database files are stored.
Local Backup—Select the databases to back up locally on the master server. By default, all databases are selected.
Upload To Backup System—Select the databases to upload to an FTP server or the master server of a backup system. By default, no database is selected. When you select Upload To Backup System for a database, the Local Backup option is forcibly selected for the database. To configure the FTP server, see "Configuration restrictions and guidelines."
Click each Subordinate Server tab and configure the following parameters:
![[TIP: ]](images/tip.png)
TIP:
In distributed deployment, each subordinate IMC server has a separate Subordinate Server tab in DBMan.
Storage Path of iMC Files—Enter or browse to the path where the backup IMC files are stored.
Storage Path of Database Files—Enter or browse to the path where the backup database files are stored.
Local Back Up—Select the databases to back up locally on the subordinate server. By default, all databases are selected.
Upload To Backup System—Select the databases to upload to an FTP server or the master server of a backup system. By default, no database is selected. When you select Upload To Backup System for a database, the Local Back Up option is forcibly selected for the database. To configure the FTP server, see "Configuration restrictions and guidelines."
Click the Extension Configuration tab and configure the following parameters:
Backup file lifetime (days)—Enter how many days a backup file can be kept. Expired files are automatically deleted.
Delete local files after upload even if upload fails—Specify whether to delete local backup files after they are uploaded.
Upload backup files of Subordinate Servers to Master Server—Specify whether to upload local backup files from subordinate servers to the master server.
Click OK.