Deploying UAM on a subordinate server
In the Intelligent Deployment Monitoring Agent, click the Deploy tab.
The Deploy tab displays information about all IMC components that have been installed.
Right-click a component that is not deployed, and then select Batch Deploy from the shortcut menu.
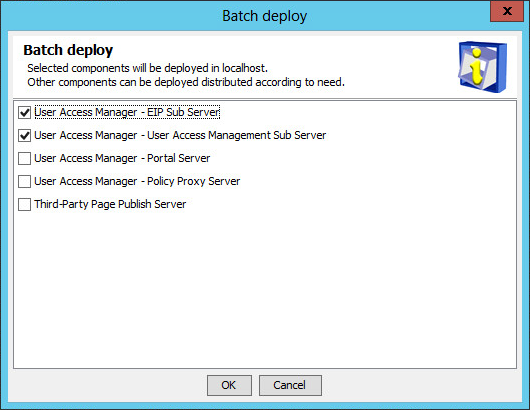
The Batch deploy dialog box opens, as shown in Figure 52.
Figure 52: Batch deploy dialog box
Select the UAM subcomponents you want to deploy.
In this example, select User Access Management Sub Server and EIP Sub Server.
Click OK.
The system starts to deploy the selected UAM subcomponents.
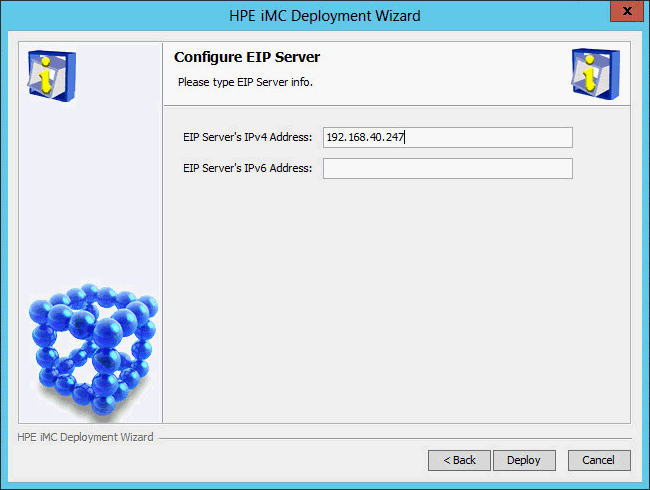
The IMC deployment wizard starts and displays the Configure EIP Server page, as shown in Figure 53.
Figure 53: Configure EIP Server page
Enter the IP address of the EIP Sub Server component in the EIP Server's IPv4 Address field. By default, this field is automatically populated with the IP address of the local host.
Click Deploy.
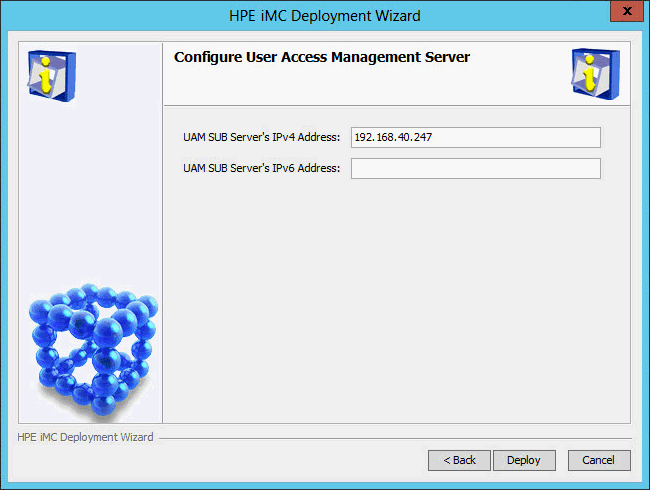
The Configure User Access Management Sever page opens, as shown in Figure 54.
Figure 54: Configure User Access Management Sever page
Enter the IP address of the host where User Access Management Sub Server is to be deployed in the UAM SUB Server's IPv4 Address field. By default, this field is automatically populated with the IP address of the local host.
After the deployment is complete, the batch deploy result dialog box opens, as shown in Figure 55.
Figure 55: Batch deploy result dialog box
Configure Start iMC Server now as needed, and then click OK.