Creating an agent from an existing script using the Web UI

Prerequisites

You must be logged in to the ArubaOS-CX Web UI with administrator rights.

Procedure
  1. Select Analytics from the navigation pane.
  2. In the Analytics Dashboard, in the Agents panel, click Agents.
  3. The Agent Management page is displayed. To create an agent, click + Create.

    You can also create an agent from the Scripts Management page by selecting a script row and clicking + Create Agent. Access the Scripts Management page from the Analytics Dashboard by selecting the Scripts link in the Scripts panel.

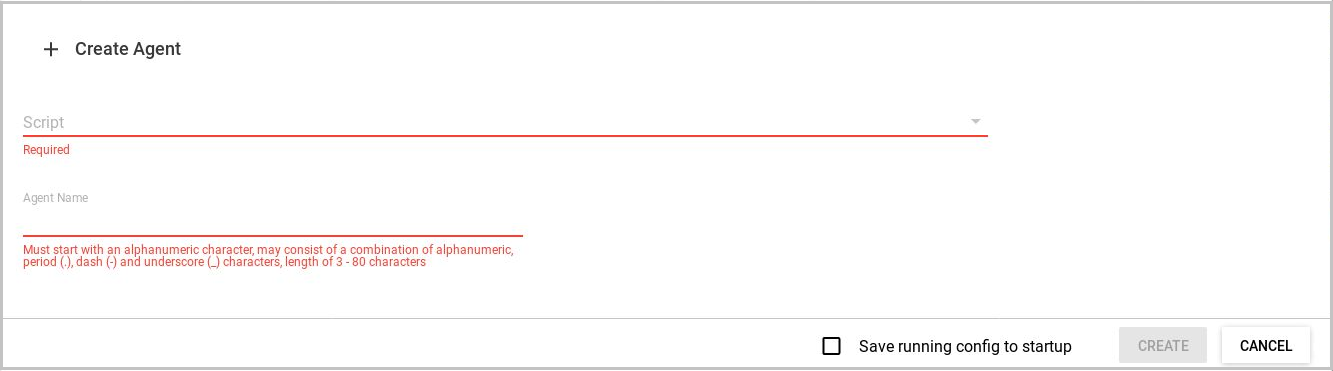
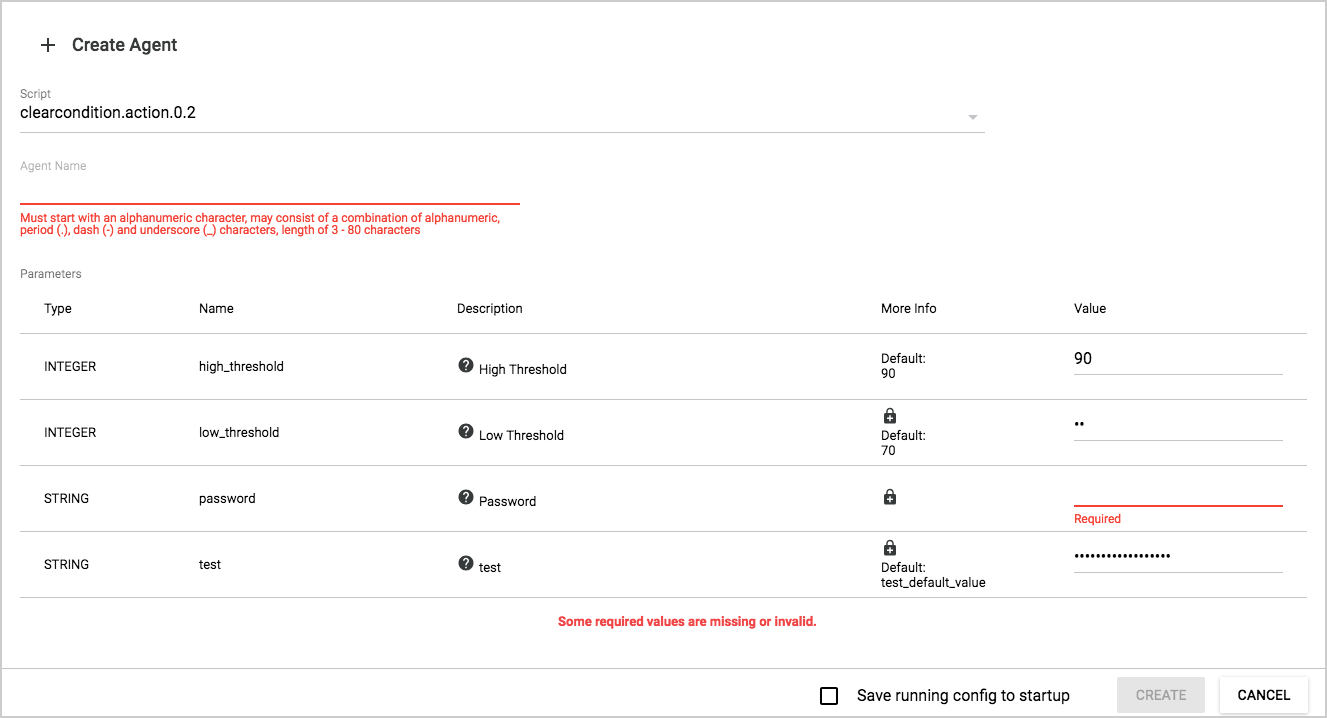
  4. In the Create Agent dialog box, enter the agent information.

    Create Agent dialog box

    1. Click the down arrow next to the Script field to see a list of scripts available on the switch.
    2. Select a script for the agent to run.
    3. Enter a name for the agent.
    4. Based on the script you selected, a list of parameters is displayed. Enter the parameter value you want the agent to use as the rule for determining when to generate an alert.

      The More Info column displays additional information about the parameter, such as the default value. If the More Info column includes the lock icon, the value of the parameter is encrypted. The characters you are masked on the screen with bullet characters.

    5. Click Create to create an agent running the specified script with the parameter values entered. Or click Cancel. Optionally, check the box to Save the running config to startup. If you do not select Save the running config to startup, the change will not be persisted if the switch is rebooted.

      Create Agent dialog box example with script parameters shown