Enabling a disabled agent using the Web UI
Prerequisites
You must be logged in to the ArubaOS-CX Web UI with administrator rights.
Procedure
-
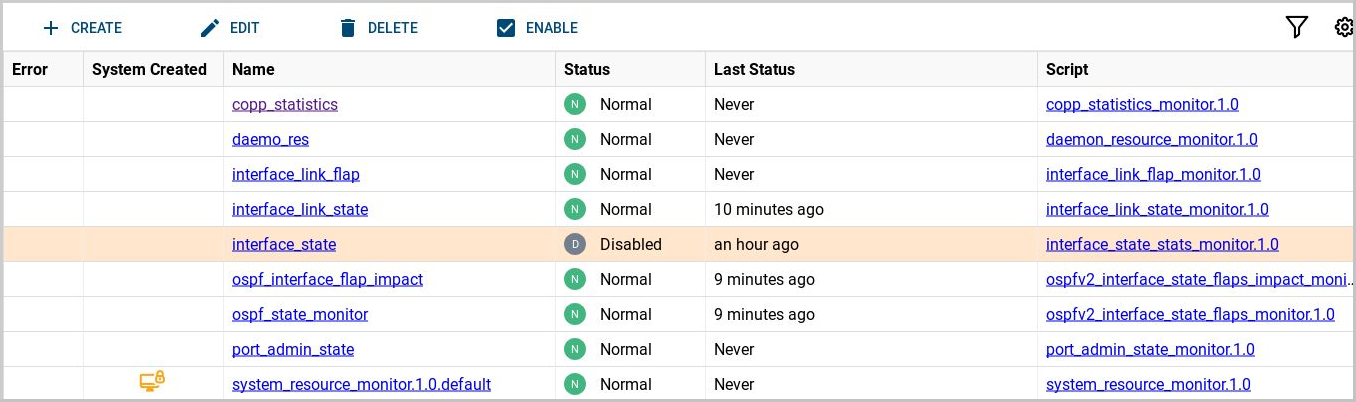
The Agent Management page is displayed. To enable a disabled agent, select the agent row (not the link) for an agent that is disabled and click
Enable.
-
In the dialog box, click
Confirm to enable the agent or
Cancel. Optionally check the box to
Save the running config to startup. If you do not select to save running config to start up, the change will not be persisted if the switch is rebooted.
