The following procedure provides instructions for changing the maximum number of VLANs to support, changing the primary VLAN selection and enabling or disabling dynamic VLANs.
Procedure
From the Main Menu, select
2. Switch Configuration —>
8. VLAN Menu … —>
1. VLAN Support
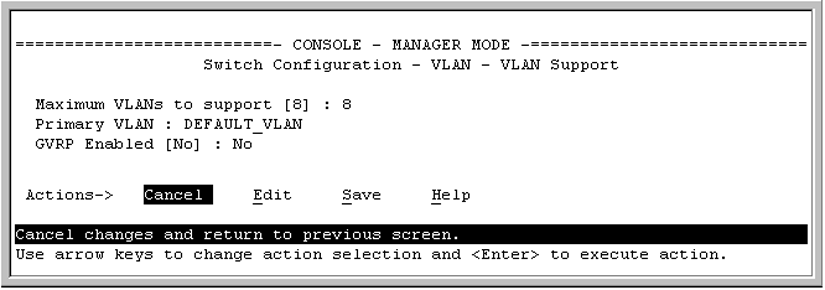
The following screen appears:
The default VLAN support screen
Press
E (for Edit) and then do one or more of the following:
To change the maximum number of VLANs, enter the new number.
To designate a different VLAN as the Primary VLAN, select the
Primary VLAN field and use the space bar to select from the existing options. The Primary VLAN must be a static, port-based VLAN.
To enable or disable dynamic VLANs, select the
GVRP Enabled field and use the Space bar to toggle between options. For GVRP information, see
GVRP.
NOTE:
For optimal switch memory utilization, set the number of VLANs at the number you will likely be using or a few more. If you need more VLANs later, you can increase this number, but a switch reboot will be required at that time.
Press
Enter and then
S to save the VLAN support configuration and return to the VLAN Menu screen.
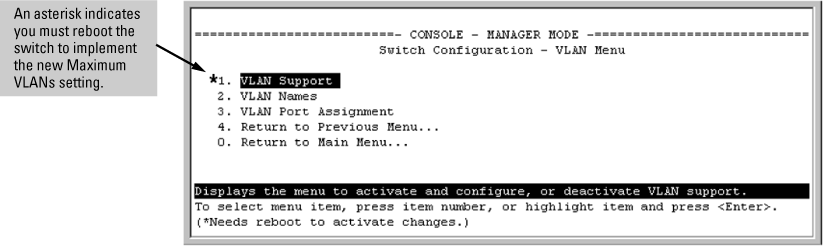
If you changed the value for Maximum
VLANs to support, an asterisk appears next to the
VLAN Support option; see the following screen.
VLAN menu screen indicating the need to reboot the switch
If you changed the VLAN Support option, you must reboot the switch before the maximum VLANs change takes effect. You can go on to configure other VLAN parameters first, but you must reboot the switch when you finish.
If you did not change the VLAN Support option, a reboot is not necessary.