Configure AirWave details in DHCP (alternative method)
To configure a DHCP server for ZTP and AirWave, from a Windows Server 2008, do the following steps:
NOTE:
Use these steps to configure ZTP for every switch by selecting a different Vendor Class for each type of switch.
Procedure
-
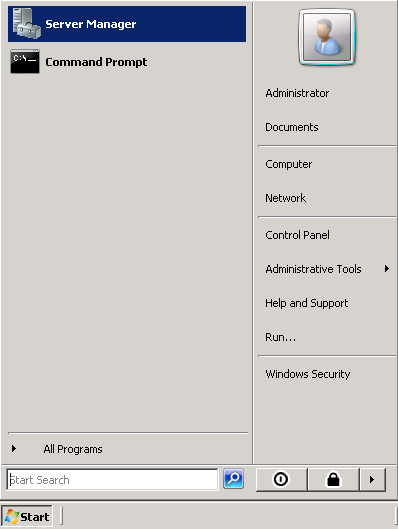
From the
Start menu, select
Server Manager.
-
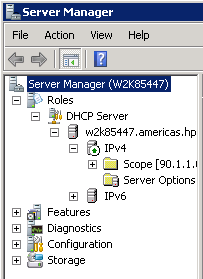
Select
Roles -> DHCP -> Server -> w2k8 -> IPv4.
-
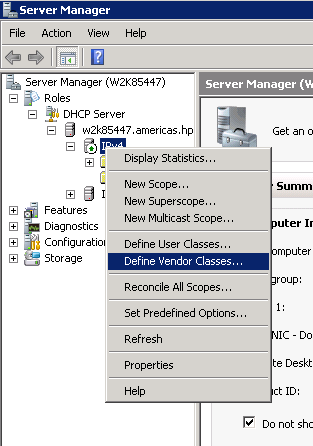
Right-click
IPv4 and select
Define Vendor Classes...
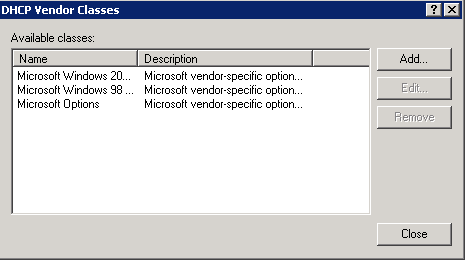
-
The DHCP Vendor Classes window is displayed. Click
Add....
-
From the New Class window, enter the desired
Display name (any) and the
Description (any). For the
ASCII field, enter the exact value that you got by executing the
showcommand performed in the previous step. In this example, Hewlett Packard Enterprise J9729A 2920-24G-PoE+ Switch dslforum.org.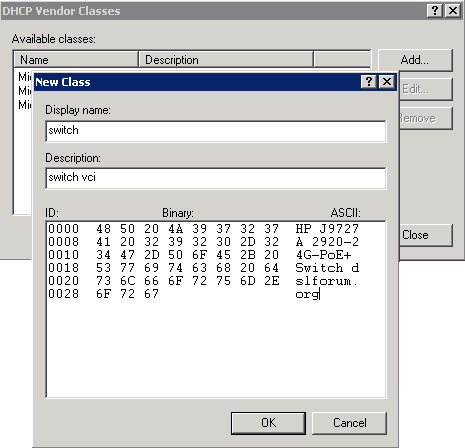
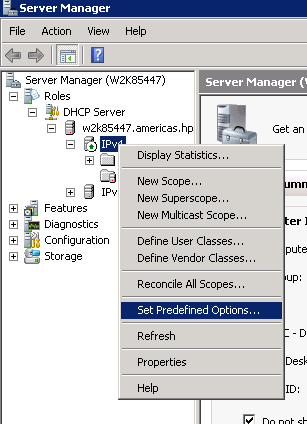
-
Right-click
IPv4 and select
Set Predefined Options....
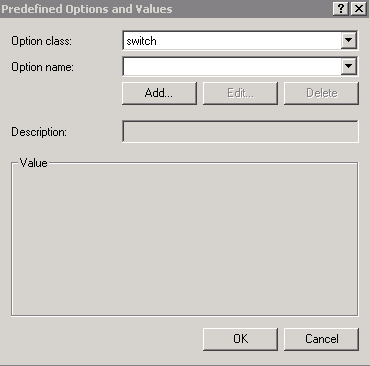
-
From the Predefined Options and Values window, select
Option class. The Option Class displayed is the one that you configured under
DHCP Vendor Class. In this example, the Option Class is
switch.
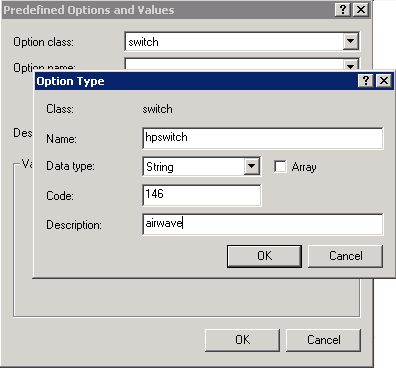
-
From the Option Type window, enter the desired
Class (any), the
Data type (select
string), the
Code (enter
146), and the
Description (any).
-
To add sub-folders, use the following format:
<Group>:<Topfolder>:<folder1>,<AMP IP>,<shared secret>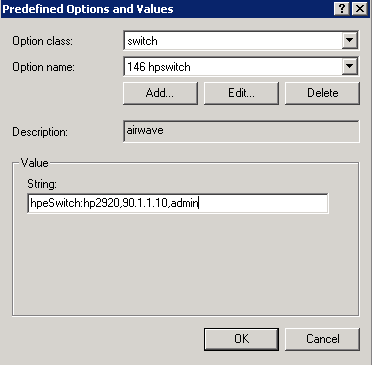
-
Under
IPv4, expand
Scope. Right-click
Scope Options and select
Configure Options...

-
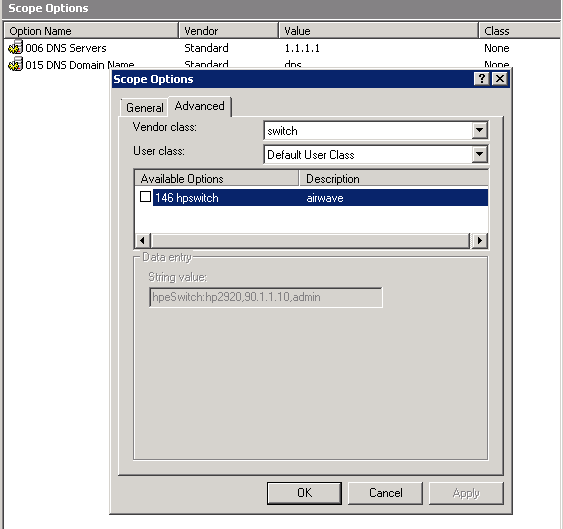
From the Scope Options window:
- Select the Advanced tab.
- Under Vendor class, select the desired switch. In this example, switch.
- Select the 146 switch option.
- Click OK.